Implant cementation,
step by step
Cementing crowns and fixed partial dentures (bridges) onto implants has become increasingly popular, but it is not without issue.
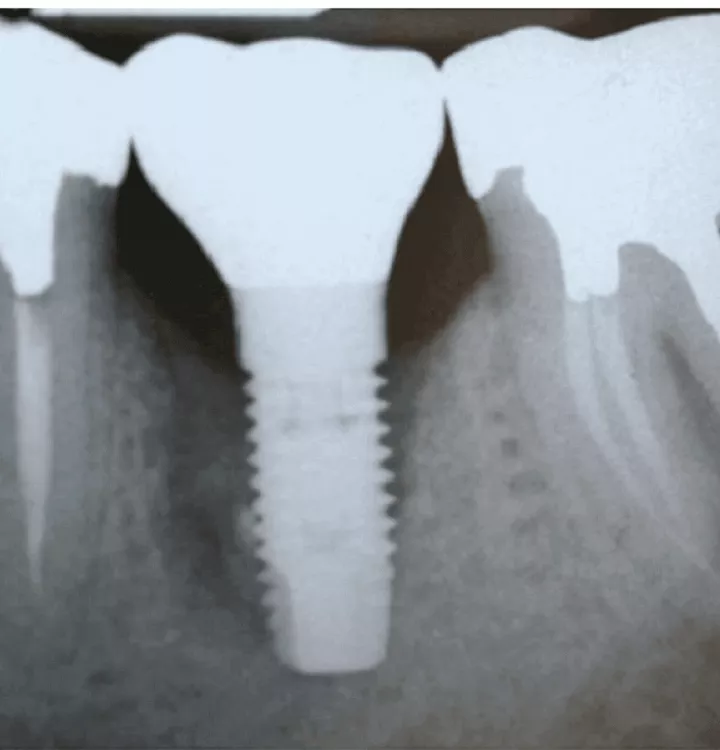
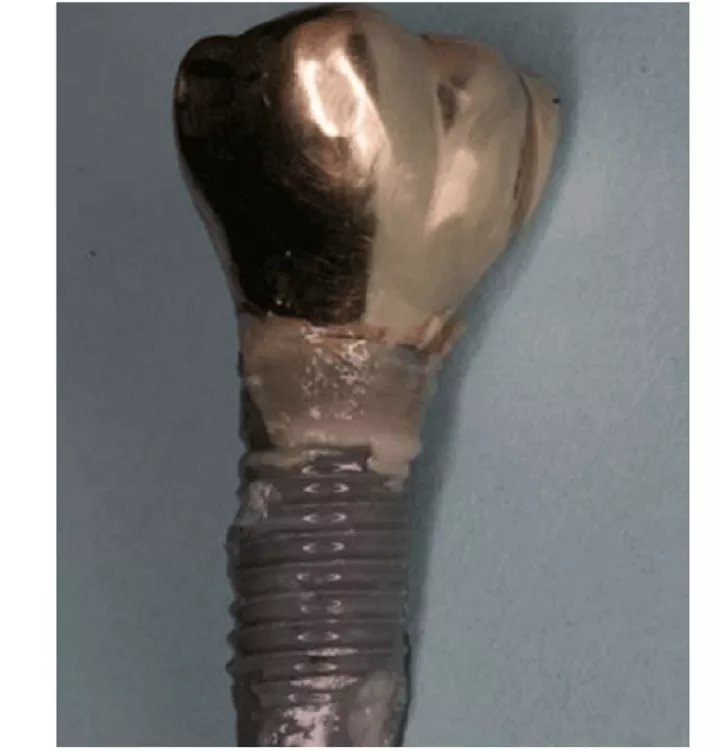
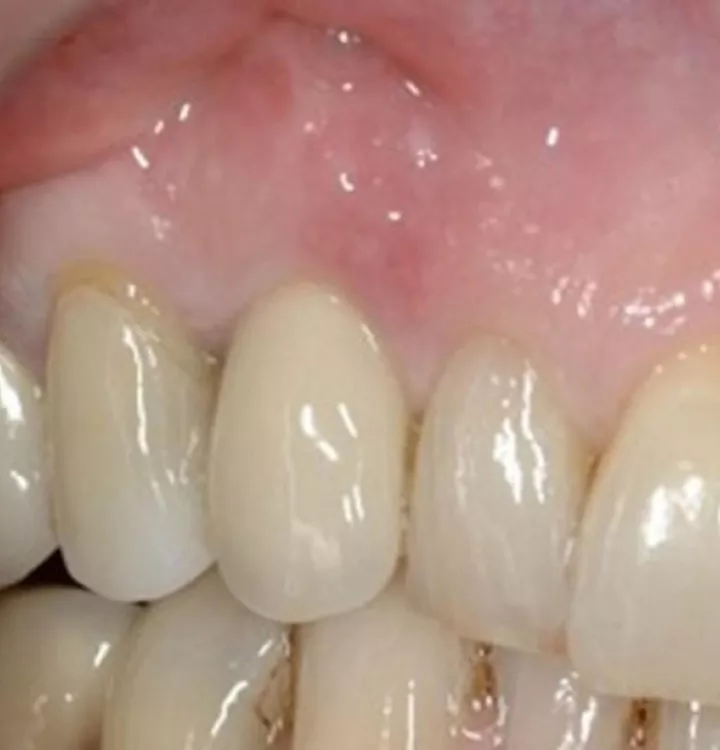
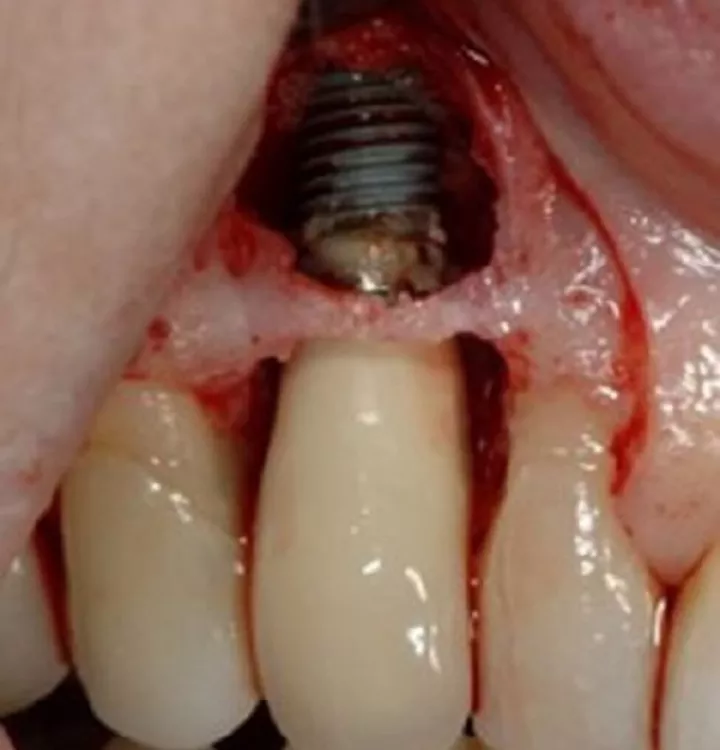
One cause of local tissue inflammation associated with dental implants that has recently come to light is dental cement. Cements have been directly linked with peri-implant diseases and have been blamed for bone loss and implant failure. One aspect of the disease process that is especially concerning is the time between restoring the implant and the disease process—on average three years pass before dentists discover a problem, with a range of four months to beyond nine years!
Dentists should be made aware of the differences between implants and teeth. Because their peri-implant biology is not the same, the appropriate cementation techniques, suitable cement selections, and even the procedures for the clean-up of excess cement are different. This article will briefly highlight these issues and offer solutions to overcome the attendant problems.
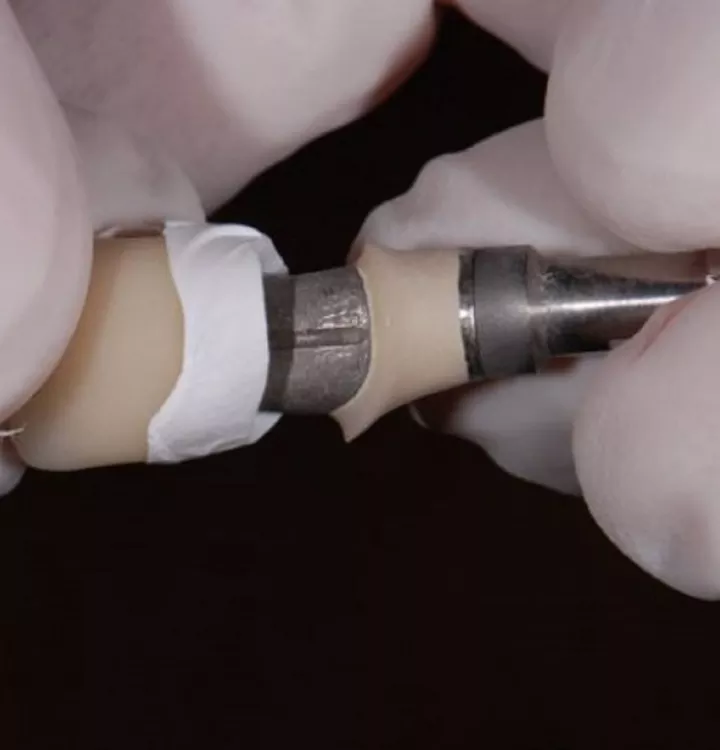
The crown is painted internally with a water-soluble lubricant such as KY jelly (Vaseline can be used but it must be adequately cleaned later). Complete the adaptation by gently pushing the abutment into the crown and then carefully removing it.
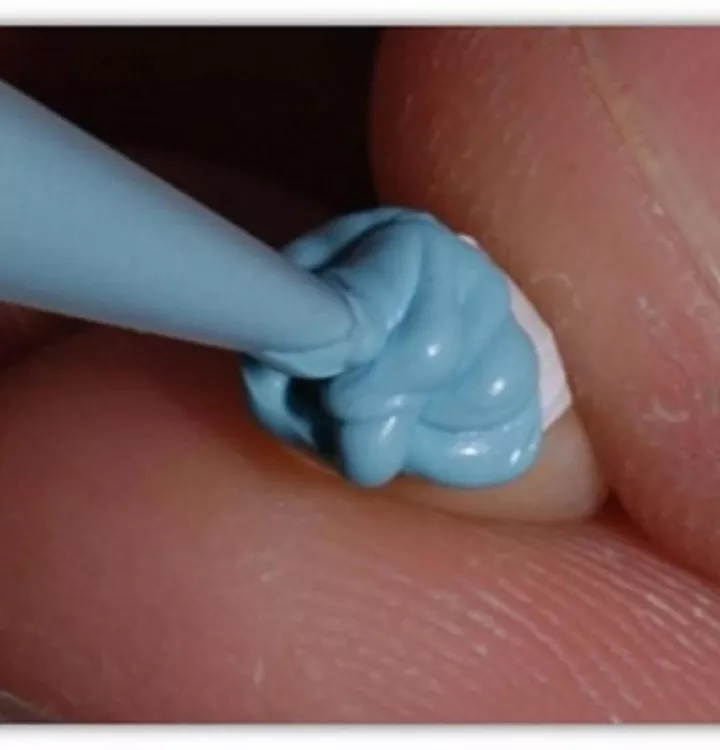
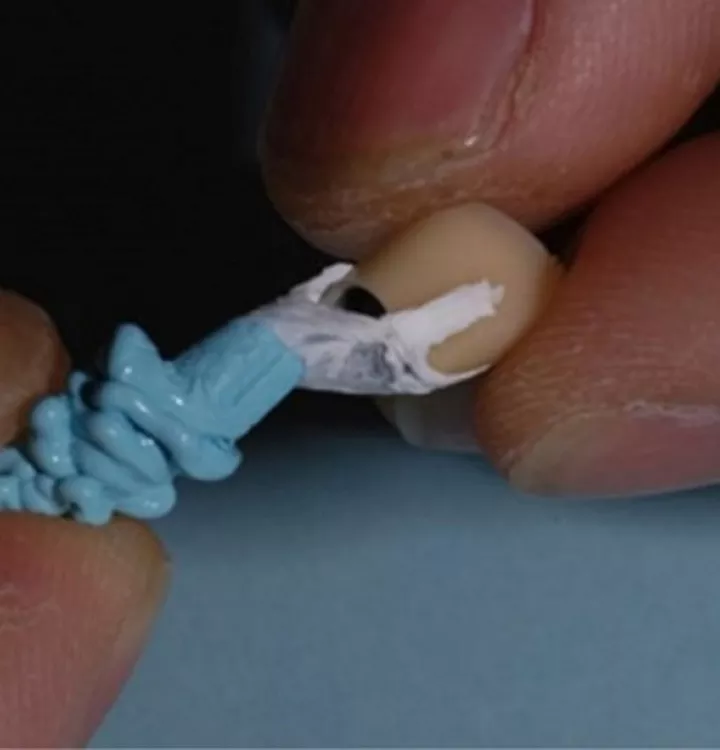
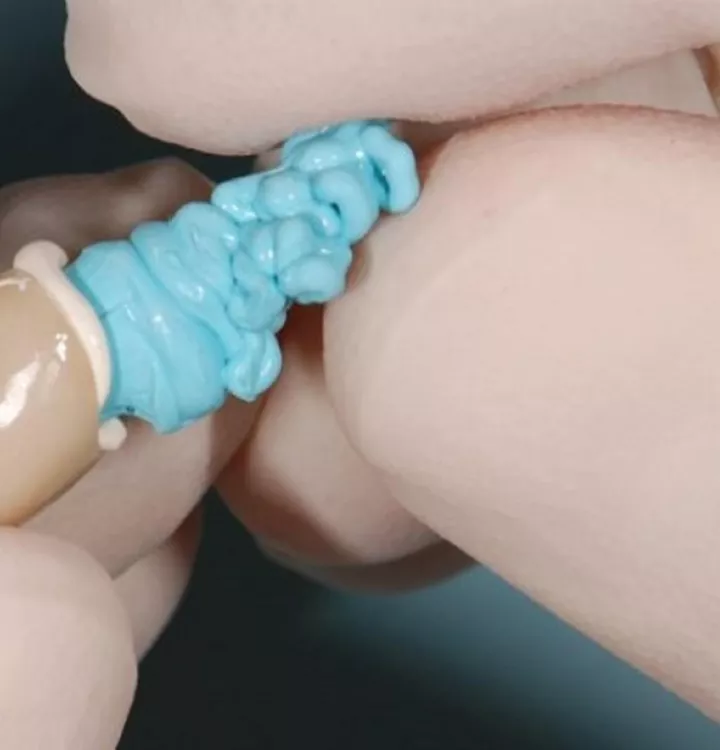
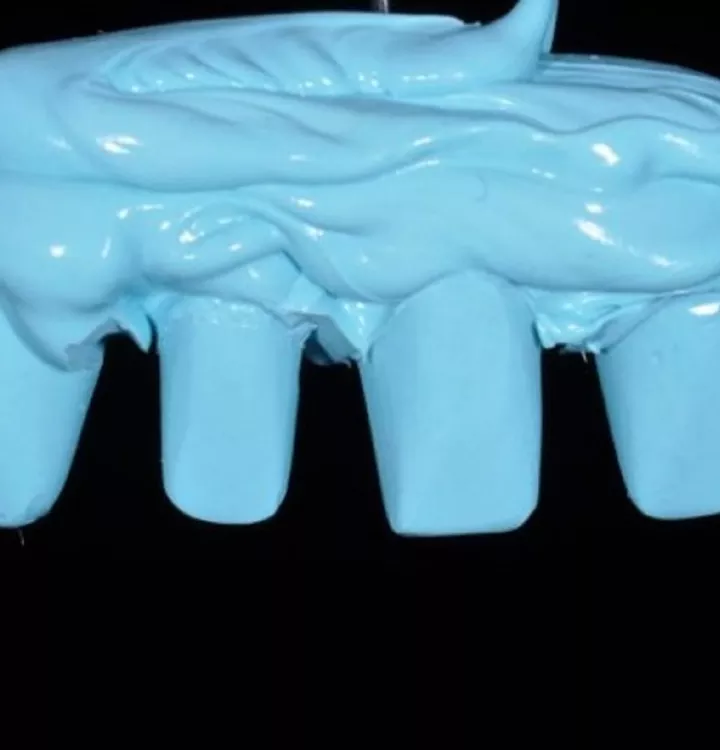
Step 1: To make the CCA: Using a fast-setting impression or bite registration (Blu-Mousse) material, fill the inside of the crown and continue to overfill until a “handle” is produced. (Hint: Use a fine-tip nozzle.)
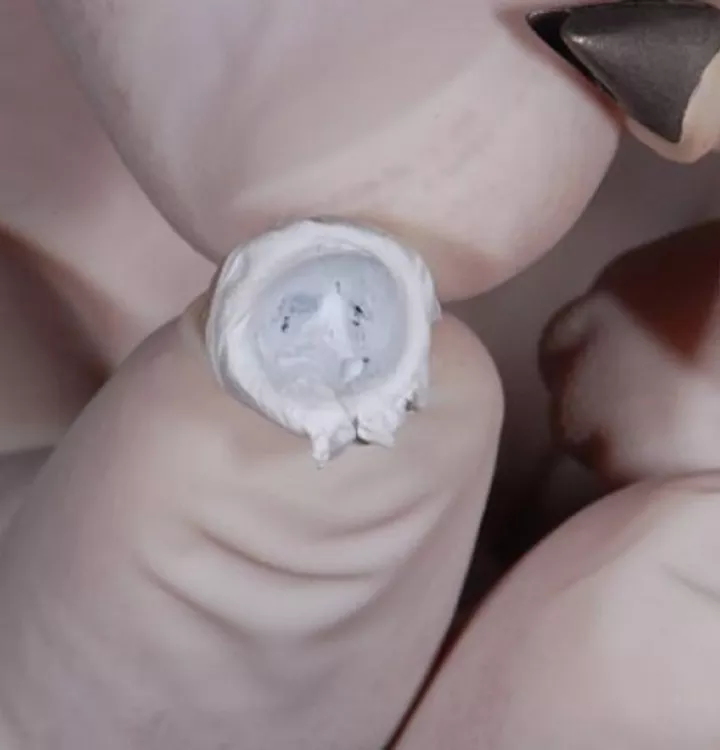
Step 2: Remove the CCA, then remove the PTFE and clean out the inside of the crown (important!) to remove the KY jelly or Vaseline.
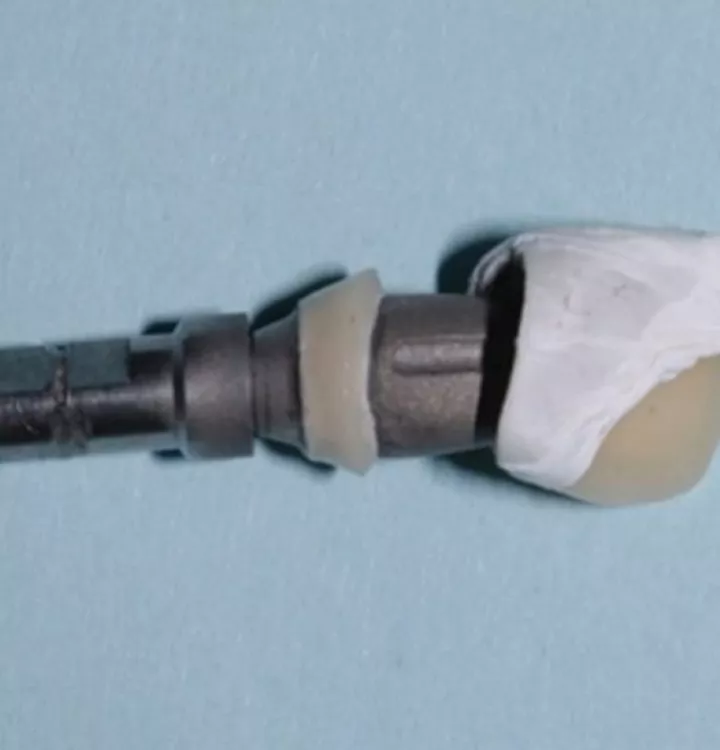
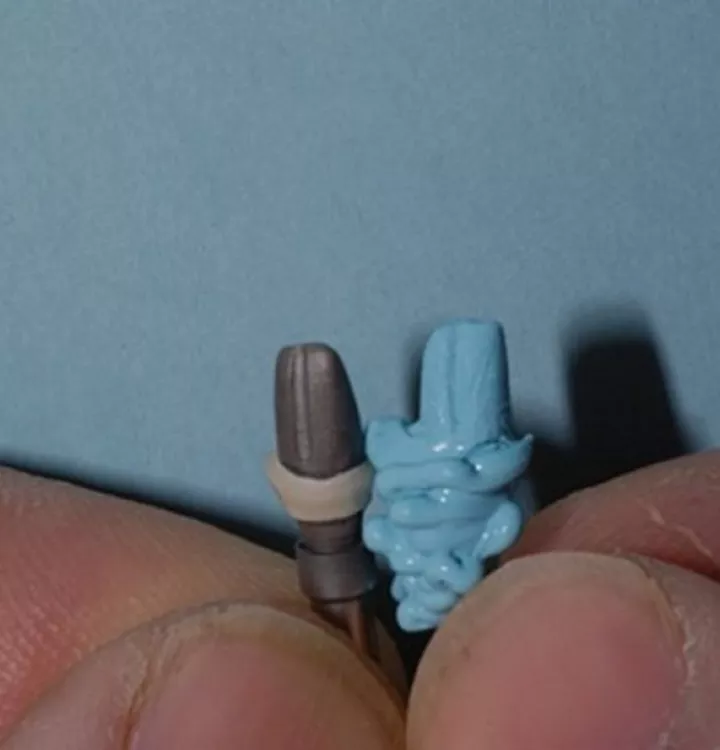
Step 3: Now you have a chair-side copy abutment. The CCA is 50 microns smaller than the inside of the crown! Inspect it, compare it to the actual abutment, and make sure you know the orientation.
Step 4: The CCA is now ready for use. Place the abutment in the patient’s mouth, confirm that it sits, and torque the screw to the appropriate Ncm value. The crown is now ready to be cemented.
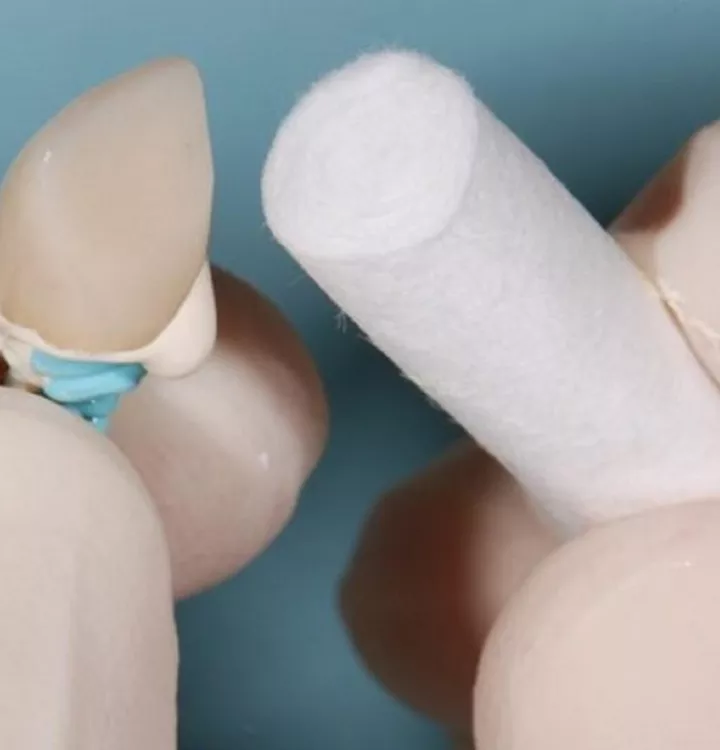
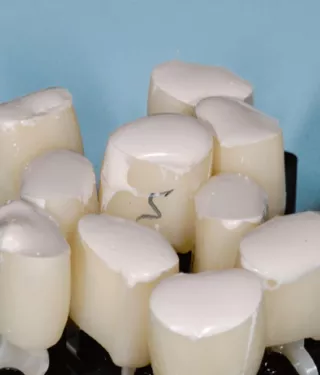
Step 5: Load the crown with any amount of cement you wish—the CCA will subsequently be pushed into the crown, and the excess cement will be extruded chair-side and easily removed. (This is done outside of the mouth.)
Step 6: Inspect the inside of the crown for an even cement layer. If you find any “bare” areas, just add a little extra. Then seat the crown in the mouth.
Peri-implant biology
Many clinicians consider implants to be similar to teeth, but they differ in many important ways. A weak adhesion exists between soft tissue connective tissues and implant surfaces, for example, whereas teeth have a more robustly developed attachment system. The clinician should be aware of the fact that the weaker soft tissue adhesion seen with implants is more susceptible to complications caused by excess cement and the hydrostatic force of cement being pushed into the tissues during crown placement.
Cementation techniques
Clinicians often do not understand that only a very limited amount of cement is needed to fix a restoration to an implant abutment. A recent survey of over 400 dentists showed that many dentists placed in excess of 20 times more cement into the crown than was required. This overload of cement means that 95% are extruded out at the restorative margin, which is frequently found below the gum, making cement removal virtually impossible.
Solution
Limit the amount of cement that is placed in the crown. As teachers, we train clinicians to understand that too much is undesirable. We often equate the amount needed to everyday, well-known subjects, for example: “The space provided for cement on the inside of the crown during the making of the crown is the same thickness as a layer of nail polish.” This layer is often about 50 microns thick, which is about the thickness of a human hair!
A technique has been developed using a spacer and some fast-setting dental impression material to make a chair-side copy abutment (CCA) that can be used to coat the inside of the crown with close to the 50 microns needed.
The crown is painted internally with a water-soluble lubricant such as KY jelly (Vaseline can be used but it must be adequately cleaned later). This allows PTFE (plumbers tape, which is 50 microns thick!) to be adapted to the inside of the crown using a dry brush. Complete the adaptation by gently pushing the abutment into the crown and then carefully removing it. Inspect the inside of the crown to see if the PTFE is well formed.
Many advantages of the CCA
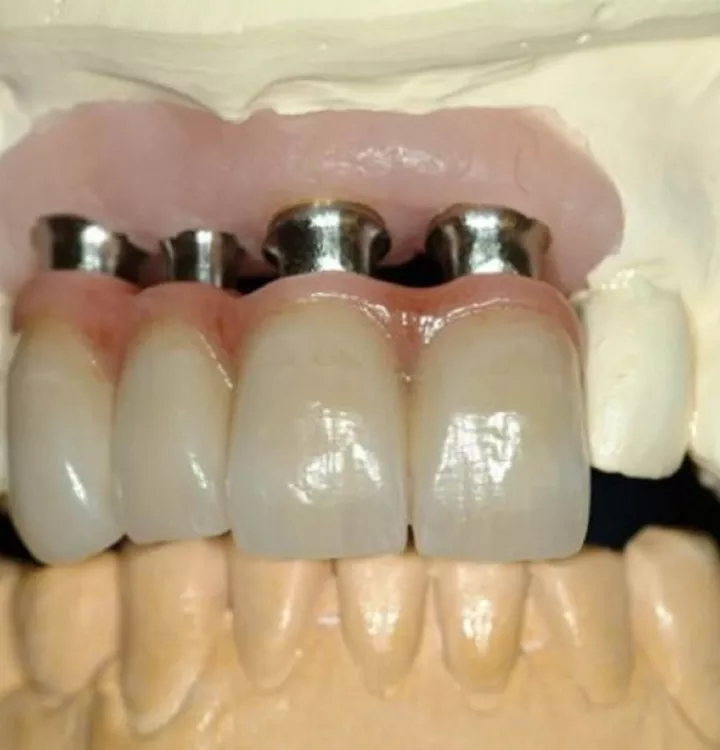
A fast, inexpensive, simple technique, this approach limits excess cement to an absolute minimum, and makes cleanup quicker and easier. The CCA can be used for custom, stock and even multiple abutments.
The CCA is an improvement over using the actual abutment, or laboratory abutments, which do not provide quite enough cement space to assure suitable amounts of cement for problem-free crown retention. The CCA produces the ideal amount.
Special thanks to Drs. Ken Akimoto and Franco Audia for providing the cases and the associated photographs in this article.
More to explore
- Discover our cemented crowns and bridges
- “The positive relationship between excess cement and peri-implant disease,“ by T. Wilson, in J Periodontol, 2009; 80: 1388–92
- “Technique for controlling the cement for an implant crown,” by C. Wadhwani and A. Pineyro, in J Prosthet Dent, 2009; 102: 57–8
